About The Review:
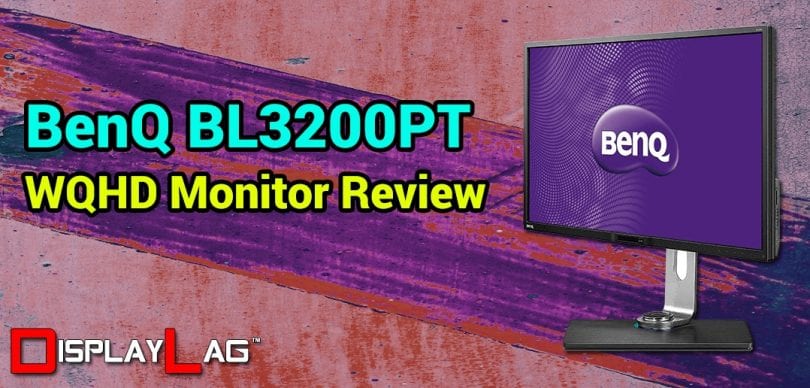
This BenQ BL3200PT monitor was provided by BenQ for review purposes. I will be reviewing the build construction, picture quality, and overall technical performance of the BL3200PT, including input lag performance.
Display Details
| Size: | 32″ | Panel: | 10-bit |
| Resolution: | 2560 x 1440 | Dynamic Contrast Ratio (ASCR): | 20M:1 |
| Aspect Ratio: | 16:9 | Panel Type: | VA |
| Response Time: | 12ms, 4ms (GTG) | Viewing Angle: | 178/178 |
| Display Colors: | 1.07 Billion | Color Gamut: | 100% sRGB |
Inputs, Features, & MSRP
| Inputs/Outputs: | HDMI | D-Sub | DVI | DisplayPort |
| Inputs/Outputs (Cont.): | Headphone | Line-In | 2x USB 3.0 | SD Card Slot |
| Features & MSRP: | 5W x 2 Speakers | under $799 on Amazon | – | – |

The BenQ BL3200PT, At A Glance:
BenQ’s latest offering is quite a departure from their usual gaming monitors. The BL3200PT is an impressively-large screen, coming in at 32-inches, rivaling most entry level HDTVs in size. This monitor is primarily designed for the CAD/CAM industry, with features that enhance perception of detail, while offering comfort for long hours of work. The good news is, the premium features on this monitor should also be considered by any enthusiast looking to jump into the high resolution game. Offering a 2560 x 1440 resolution with a VA screen capable of producing 10-bit color, it’s certainly no slouch for anyone looking to upgrade their setup.
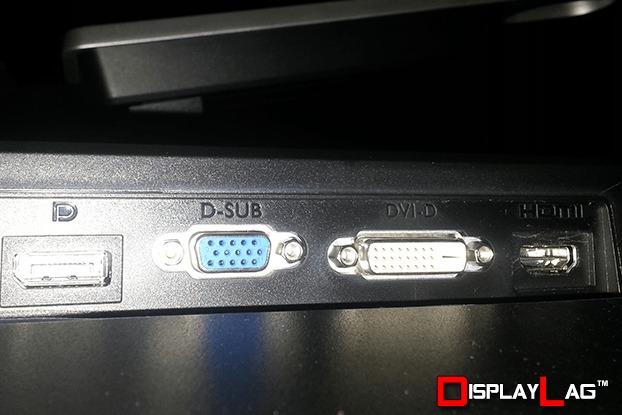
The BenQ BL3200PT features one of each major input used today.
In terms of connectivity, you can expect every major input present. This includes DVI, HDMI, DisplayPort, and D-Sub to handle your video connections. A pair of USB 2.0 and 3.0 ports are also available, for a total of 4 USB downstream ports. An SDXC Card reader is located on the side of the display, which is where the two USB 3.0 ports are located for convenient access. For those that aren’t keen on using an external audio system, a pair of stereo speakers are integrated into the BL3200PT, each powered by a 5W speaker. Additional cable purchases aren’t necessary either, as the BL3200PT comes standard with DVI, HDMI, D-Sub, DisplayPort, and line-in cables in the box.
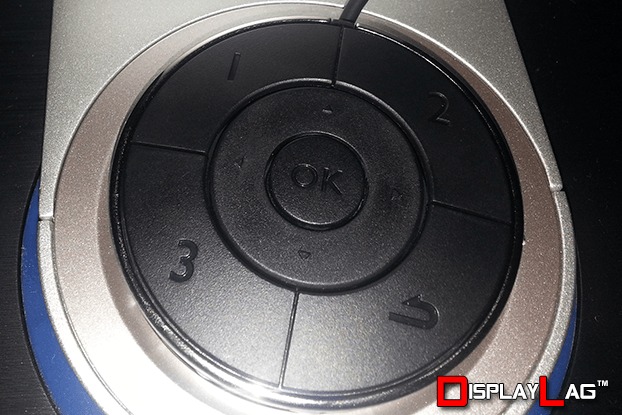
The OSD controller allows tactile operation of the OSD, if the touch sensitive buttons aren’t your preference.
An extra cool inclusion by BenQ is the OSD controller for the BL3200PT. This circle-shaped device connects via a dedicated mini-USB port located behind the monitor, and allows you to operate the OSD without using the dedicated touch buttons. It is extremely useful for those that end up using the OSD often, without having to search for the right buttons to press. The controller includes a directional pad to navigate the menus, and also features 3 separate buttons to quickly switch between different picture modes. You don’t have to worry about misplacing the OSD controller either, as the stand includes an insert to rest the OSD controller when not in use.
The monitor’s bezel is about average in size, measuring approximately 1.3″ thick from the edge of the display. While not the slimmest one around, it’s not thick enough to be distracting. Like most premium monitors, the BL3200PT features a fully height-adjustable stand, that can also be rotated into portrait formation for those that require it. Due to the large screen size, the display needs to be tilted upward in order to rotate it properly. This is a breeze as the BL3200PT also features full tilt-control. The overall build quality of the materials is superb; ranging from the metal stand to the OSD controller.
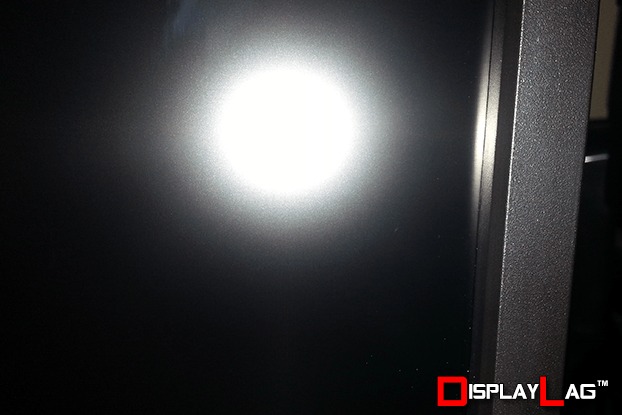
It’s not super slim, but it’s far from gaudy. The bezel on the BL3200PT fits the profile just right.
Panel Specs:
Being a 32″ display, its massive size would be considered a little too large for standard 1080p resolution at close viewing distances. The great news is, this monitor features a 2560 x 1440 WQHD resolution, with an advertised 4ms GTG response time. The 10-bit VA panel operates at a 60hz refresh rate, with a native 3000:1 contrast ratio (20M:1 dynamic). The 10-bit panel allows the monitor to display a wider color gamut, specifically 1.07 billion colors. In contrast to IPS, VA panels are known for their ability to reach deeper black levels than most other display types.
Buttons:
No physical buttons here. The BL3200PT features a very slick touch interface that illuminates as you draw your finger towards it. Upon tapping, the OSD appears on the display itself. I’ve always been a fan of BenQ’s OSD, as it allows seamless operation regardless of your ambient lighting conditions. I’ve encountered too many monitors that were simply a pain to navigate in the dark, so it’s great to see this kind of forward-thinking from BenQ. I can’t find any major faults in the menu operation that’s present on the BL3200PT. For those that do not appreciate touch inputs, you can always resort to the included OSD controller for a more tactile method of control.
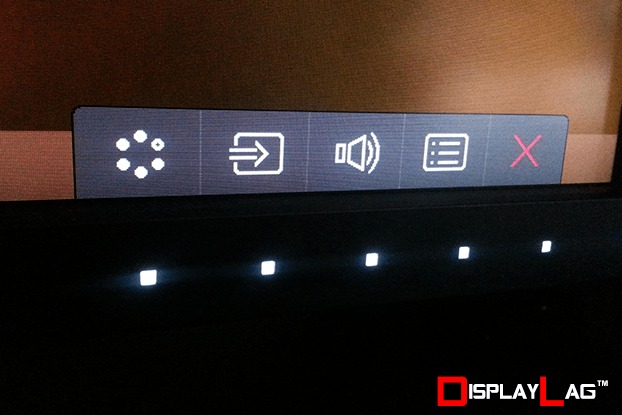
The touch sensitive buttons light up when your finger is in proximity, and perform very responsively.
Viewing Angles & Uniformity:
The viewing angles on the BL3200PT are specified to be 178/178 by BenQ, and in practice, don’t exhibit any glaring flaws when moving your head from side to side in most scenarios. There is, however, inherent color shift when you move slightly off center (a disadvantage of VA technology). This is most noticeable during darker scenes, where moving your head a little bit to the side may cause some blacks to look a bit grayish. You can reduce the appearance of this phenomenon once your backlight is calibrated according to your ambient lighting. During most viewing sessions, this is hard to notice and doesn’t detract much from the overall quality of the monitor.
Menu Items and Features (OSD)
With a focus on designing, it is imperative for the BL3200PT to feature a vast amount of customization options. It certainly doesn’t disappoint. There are 11 picture mode presets to choose from, including sRGB, CAD/CAM, Animation, Presentation, Standard, Low Blue Light, Movie, Photo, Eco, M-book, and User. You can also configure Brightness, Contrast, Sharpness, Gamma, Color Temperature, Hue, Saturation, and AMA (response time overdrive). Some of these settings are locked out unless you use the ‘User’ preset mode for maximum configuration. There is also an advanced menu that allows scaling and color format configuration. Outside of display configuration, ECO and Ergonomics menus allow you to enable automatic backlight dimming and the proximity sensor for detecting your presence. Enabling the proximity sensor allows the monitor to automatically turned off in 40 seconds to save power.
Black, White, and Color Output:
With the abundance of calibration options available, it’s possible to correct almost any inaccuracies you may find using the default out of the box settings. The first change I ended up making in order to achieve proper calibration results was to change the HDMI RGB PC range from 16~235 to 0~255. This allowed me to correctly set the RGB values in order to achieve 6500k. Using the black level test pattern on Lagom, I was able to discern each black square without issue using dark room settings. It is important to note that there is a lack of independent black level control, similar to the ASUS VN279QL I reviewed last month. Perhaps a side effect of VA monitors? Either way, it’s a non-issue as the black level is correctly set out of the box. Similarly, contrast was set correctly out of the box (for ‘User’ mode), though this control does have the ability to be configured. The default setting was good enough to resolve all of the contrast test squares on Lagom, without any noticeable clipping. The brightness setting was adjusted in order to achieve 100cd/m² luminance for a dark room.
Once calibrated, the BL3200PT is certainly a joy to experience content on. One advantage that VA panels have over IPS panels is their ability to achieve a really dark black level, which enhances the depth of all other colors. Running 2560 x 1440 at this screen size is a sight to behold; anyone that wants a pretty screen should take a look at the BL3200PT. As mentioned earlier, I was able to calibrate the BL3200PT to achieve a color temperature of 6505k without using an ICC profile. However, I highly recommend using the custom ICC profile supplied in this review, along with these settings, to bring the most out of the monitor with proper color and gamma adjustments:
Brightness: 17 (100cd/m² for dark rooms. Increase if too dim.)
Contrast: 50
Sharpness: 5
Gamma: 3
Color Temperature: User Define (R: 99, G: 97, B: 96)
Hue: 50
Saturation: 50
AMA: High or Premium
Overscan: Off
Display Mode: Full
HDMI RGB PC Range: 0~255
Note: These settings were achieved using an i1 Display Pro, along with X-Rite’s i1 Profiler software. The GPU used on the test computer is an Nvidia GTX 670 using stock settings. These settings require an additional ICC profile for accuracy. The ICC profile for the BenQ BL3200PT can be downloaded here. Use these settings at your own discretion, as they may look different on your display.
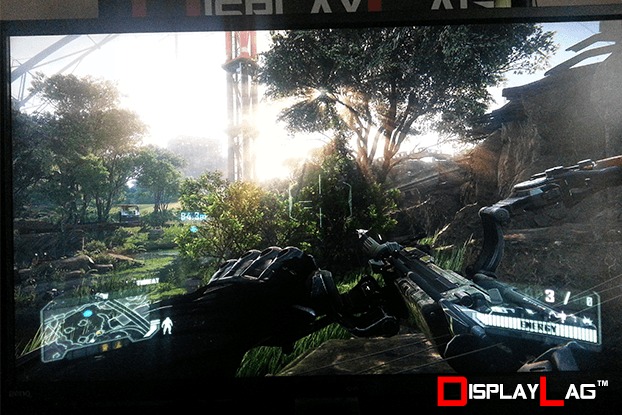
If you have yet to experience 2560 x 1440, you’re missing out.
Scaling:
The scaling options available on the BL3200PT are among the very best available. In addition to Full, Aspect, and 1:1 modes, the BL3200PT has the ability to scale the image to mimic different screen sizes, from 19″ all the way to 30″. Once using a custom scaling mode, you are able to use BenQ’s Smart Scaling option to fine-tune the image according to your needs. For example, once you select the 19″ screen option, you can increase the image size in small increments using Smart Scaling. This allows you to completely fine tune the display’s presentation according to your needs. Nobody should have any problems with the scaling options present on the BL3200PT.
Measured Input Lag:
So how does the BL3200PT hold up when it comes to gaming? Above average, but not quite amazing. I tested the BL3200PT using both 720p and 1080p lag testers, and both returned identical results. Input lag was found to be identical in all picture modes, which is good news for those that want to game on a specific picture mode. Setting the AMA to ‘Premium’ resulted in a 1ms reduction on the values returned from the lag testers. This won’t make a difference you can feel, but it’s good to know regardless. The measurements were recorded as follows:
- Top: 20.1ms
- Middle: 27.5ms
- Bottom: 34.8ms
Averaging out these measurements results in an average input lag rating of approximately 28ms (rounded to nearest millisecond). This display is fast enough for the majority of gamers that are in the market for such a display, but not as fast as some other VA offerings, such as the ASUS VN279QL.
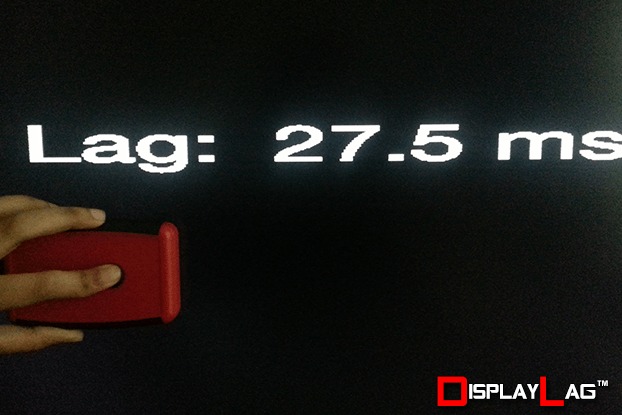
The BenQ BL3200PT clocks in with an average input lag of 28ms, with 720p and 1080p sources.
Gaming Performance:
Taking it one step further, I did some hands on testing using Ultra Street Fighter IV to see if I could notice the input lag. For those that don’t know, Ultra Street Fighter IV introduced a new option into training mode that allows you to add latency frame-by-frame for online play simulation. This is an incredibly useful feature, as it allows you to add latency to an otherwise lagless display, to get a feel of what the other (presumably laggy) monitor feels like. While I already presented measured results above, sometimes it’s good to feel the difference.
I used my BenQ RL2455HM monitor as the control display, and disabled sound on both monitors in order to force myself to use visual cues only. Switching on the fly between the RL2455HM and BL3200PT, I noticed a slight difference in terms of timing. The RL2455HM has an average input lag of 10ms, whereas the BL3200PT is averaging 28ms. To compensate, I added 1 frame of input lag using the network simulation feature in Ultra Street Fighter IV, and noticed the timing to become more even between both monitors. 1 frame of lag is approximately 16.7ms, so the difference I felt definitely lines up with the measurements taken above. Based on this testing, I feel that the BL3200PT is not fit for gamers that demand frame-perfect accuracy in their games. If this is your priority, I recommend checking out either the RL2455HM or RL2460HT to suit your needs. This will be most noticeable in 60 FPS (frames per second) games with fast paced action, and much less so in 30 FPS games. However, if you’re a semi-serious gamer that wants a responsive monitor, but do not need frame-perfect accuracy, the BL3200PT will serve you just fine. This monitor is still one of your best options when it comes to low input lag with a higher-end display.
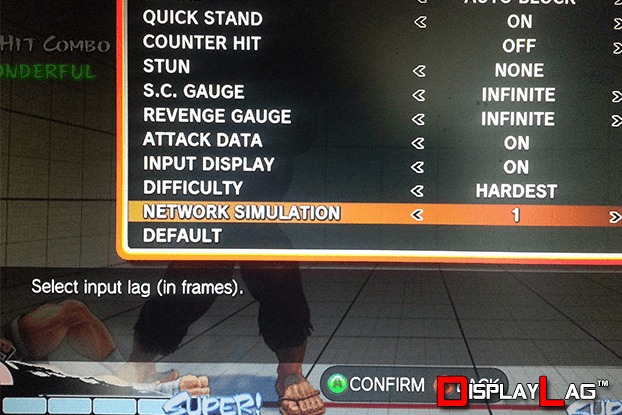
Ultra Street Fighter IV features an incredibly useful lag simulation mode, allowing frame-by-frame testing of input lag.
Motion Blur:
With an advertised 4ms GTG response time, the BL3200PT should theoretically be fast enough for the majority of users that choose to purchase this display. You have to engage the AMA function, as setting it to ‘Off’ results in very noticeable motion blur that is extremely distracting. The default setting of ‘High’ is fast enough to remove most of the blur, but anyone that views fast-paced content at 60 FPS may still notice some blur present. Setting AMA to ‘Premium’ removes almost all noticeable motion blur, though it ends up presenting motion blur artifacts that trail the image. I recommend trying the ‘Premium’ setting first to see if the artifacts distract you, otherwise stick to ‘High’ if you find them uncomfortable to view. This will vary based on your individual tastes. Unfortunately, there isn’t one setting that will cater to everybody’s needs. You can view the pictures below to see the difference between the modes.
Testing was performed through Test UFO using the ghosting test, operating at 1920 pixels per second.


